
Building a new web app with Next.js has pretty much become the go-to move for anyone serious about performance and SEO. Its secret sauce lies in features like server-side rendering, which helps your projects load lightning-fast and get noticed by search engines. This guide will take you from a blank slate all the way to a live, deployed application.
So, Why Is Everyone Using Next.js?
Before we start firing up the terminal, it’s worth taking a moment to understand why developers are flocking to Next.js. It’s not just about the technical buzzwords; the framework's features solve real-world problems and genuinely make it easier to build better products.
The developer community has definitely taken notice. By 2025, over 17,921 verified companies are projected to be using Next.js, and that list includes heavy hitters like Amazon, Walmart, and Apple. This isn't just a trend; it's a testament to its reliability for everything from massive e-commerce platforms to intricate SaaS applications. You can even check out more adoption data over at data.landbase.com.
What’s In It For Your Project?
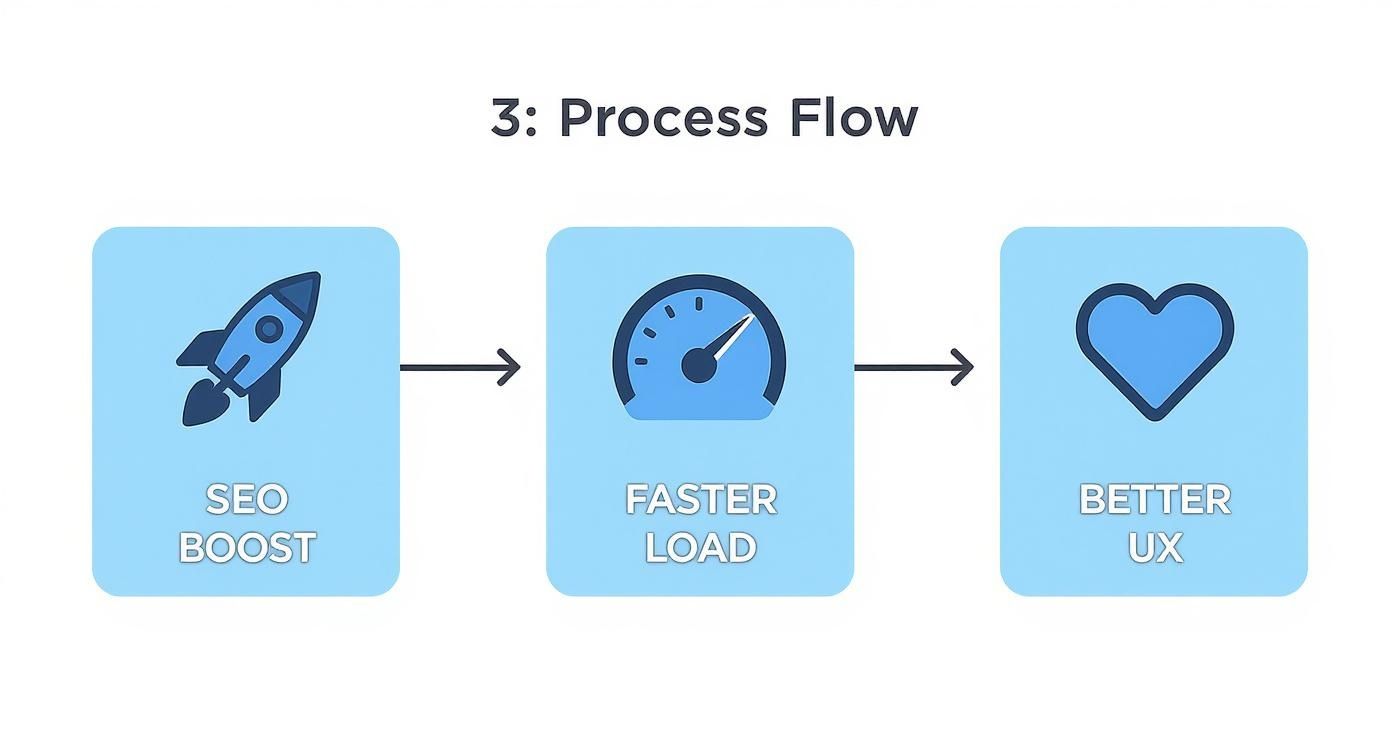
The benefits of building with Next.js aren’t just for developers—they make a huge difference for the end-user, too. Here’s how that plays out in the real world:
- Top-Notch SEO Performance: Next.js is a beast when it comes to server-side rendering (SSR) and static site generation (SSG). It serves up fully-rendered HTML that search engine crawlers love, giving your site a serious boost in visibility.
- Seriously Fast Load Times: Pages are pre-rendered on the server, so users get content almost instantly. This is huge for keeping people engaged and slashing bounce rates. You can dive deeper into what is Next.js and how it pulls this off in our detailed article.
- A Massive Ecosystem: You're not just getting a framework; you're getting access to a huge community, fantastic documentation, and a universe of open-source libraries. When you're picking your tech, it's always smart to see what the pros are using by exploring various company tech stacks.
Choosing Next.js isn't just about picking another tool. It's an investment in a skillset that lets you build professional-grade, high-performance web applications that truly meet today's standards.
Alright, with the "why" out of the way, let's get our hands dirty and build the foundation for our project.
Scaffolding Your Project With Create Next App
The absolute best way to kick off a new Next.js project is with the official command-line tool, create-next-app. Seriously, don't try to do this manually. This tool handles all the boilerplate, from build configurations to the essential dependencies, letting you jump straight into coding.
It's more than just a file generator, though. It's an interactive setup process that guides you through the key architectural decisions you need to make right from the start.
Launching the Interactive Setup
Fire up your terminal and run this command. It’ll kick off the wizard that walks you through the initial configuration.
npx create-next-app@latest
You'll get a series of questions. To build a modern, scalable application, we’re going to be intentional with our choices. We'll enable TypeScript for type safety, ESLint to keep our code clean, and the App Router for its powerful routing capabilities. Making these decisions now sets your project on a path for success from day one.
The setup we're creating taps into the core strengths of Next.js, leading to some pretty significant benefits.
This modern stack is designed to work together, improving everything from how search engines see your site to how users actually experience it.
Understanding Your New Project Structure
Once the installer finishes its magic, you'll have a new directory with your project's name. It's worth taking a minute to get familiar with the file structure inside. Knowing your way around gives you a mental map of where everything lives, which makes development so much smoother.
Here's a quick rundown of the most important bits:
app/: This is the heart and soul of your application. The App Router uses the folder structure insideapp/to define all your routes, pages, and UI components.public/: This folder is for static assets that don't need any processing. Think images, fonts, or yourrobots.txtfile. They get served as-is.next.config.mjs: Your go-to file for any advanced Next.js configuration. You'll pop in here to manage image optimization, set up redirects, or tweak the build process.
By choosing TypeScript and the App Router, you aren't just creating another Next.js app. You're adopting a professional standard that prioritizes scalability, maintainability, and a developer experience that you'll be thankful for down the line.
Alright, with a clean Next.js project ready to go, it's time to bring in the styling powerhouse: Tailwind CSS.
Instead of getting bogged down writing custom CSS files from scratch, Tailwind's utility-first approach lets you build beautiful, complex designs right inside your JSX. This workflow is a game-changer for speed and maintaining a consistent design system.
We'll get it hooked up using the official Next.js integration. It’s a pretty smooth process, just a couple of commands and a few quick config updates.

Installing and Configuring Tailwind
First thing's first, pop open your terminal in the project directory. We need to install Tailwind itself along with a couple of its essential peer dependencies, PostCSS and Autoprefixer.
Then, we'll initialize Tailwind to generate its config files.
npm install -D tailwindcss postcss autoprefixer npx tailwindcss init -p
Running these commands does two key things. It adds the packages as development dependencies and, more importantly, it drops two new files into your project's root: tailwind.config.ts and postcss.config.js. Think of these as the control panel for all your styling.
If you want a deeper dive into this part of the process, we have another guide that covers the complete Tailwind CSS installation process in more detail.
Now, we need to tell Tailwind which files to watch. This is how its Just-in-Time (JIT) compiler knows where to look for utility classes, ensuring your final CSS bundle is as small as possible.
Open up tailwind.config.ts and paste these paths into the content array.
// tailwind.config.ts
import type { Config } from "tailwindcss"
const config: Config = {
content: [
"./src/pages/**/*.{js,ts,jsx,tsx,mdx}",
"./src/components/**/*.{js,ts,jsx,tsx,mdx}",
"./src/app/**/*.{js,ts,jsx,tsx,mdx}",
],
theme: {
extend: {},
},
plugins: [],
}
export default configThis glob pattern tells Tailwind to scan every relevant file inside your app, components, and pages directories. It's a critical step, so don't skip it!
Applying Base Styles
The last piece of the setup puzzle is to actually import Tailwind's core styles into our application. These styles handle things like browser resets, giving us a consistent and clean slate to build on.
Find the src/app/globals.css file. Go ahead and delete everything in there—all that boilerplate CSS—and replace it with these three simple @tailwind directives.
@tailwind base; @tailwind components; @tailwind utilities;
These lines are what pull in Tailwind's base styles, component classes, and the massive library of utility classes you'll be using to style everything.
By setting up Tailwind correctly, you're creating a workflow where you can build and iterate on beautiful, responsive UIs without ever leaving your component files. This is a cornerstone of modern frontend development and something you'll come to appreciate quickly.
Now, let's make sure it's working. Jump over to your page.tsx file, clear out the default markup, and try adding a few Tailwind classes. A simple test like centering some text on a dark background is perfect for confirming everything is hooked up right. This quick check builds confidence and gets you ready to start building real components.
Alright, you've got a solid foundation with Next.js, TypeScript, and Tailwind CSS. The boilerplate is done, but now for the fun part: making it look and feel amazing. This is where we move beyond a static shell and start adding the kind of interactive polish that makes an app feel alive.
Instead of building every button, menu, and slick animation from scratch—which can be a huge time sink—we're going to pull in a professional component library.
For this project, we’ll be using Magic UI. It's a fantastic, open-source collection of beautifully designed and animated components. These aren't just your standard UI elements; they're built with Framer Motion and Tailwind CSS, giving you buttery-smooth, production-ready interactions right out of the box. It’s the perfect way to add a professional sheen to our app without reinventing the wheel.
Getting Started with the Magic UI CLI
Magic UI has a command-line interface (CLI) that makes installation dead simple. It takes care of all the dependencies and file scaffolding, letting you get straight to the good stuff: choosing and using components.
Pop open your terminal and run this command from your project’s root directory:
npx magic-ui-cli@latest init
The installer will guide you through a couple of quick questions to tailor the setup to your project. This ensures that every component you add is perfectly configured for your file structure and dependencies. If you ever need a refresher, the official Magic UI installation documentation is a great resource.
Think of it this way: using a library like Magic UI isn't just about saving time. You're building on the work of design engineers who have already obsessed over the tricky parts of animation and user interaction. This lets you deliver a much more refined experience, faster.
Adding Your First Animated Component
With the CLI ready to go, pulling a new component into your project is just a one-line command. Let's start with something fun to see the immediate effect. The "Dock" component is a great choice—it gives you a slick, macOS-style navigation menu that's incredibly satisfying to interact with.
Just run this in your terminal:
npx magic-ui-cli@latest add dock
The CLI works its magic, automatically adding the necessary files right into your components directory. Now, you can import and use it in your page.tsx file (or any other component) just like you would with any other local component.
Here's how you'd drop it into a page:
import { Dock, DockIcon } from "@/components/magicui/dock"
export default function HomePage() {
return (
<div className="bg-background relative flex h-screen w-full flex-col items-center justify-center overflow-hidden rounded-lg border md:shadow-xl">
<Dock>
<DockIcon>{/* Your Icon Component Here */}</DockIcon>
<DockIcon>{/* Your Icon Component Here */}</DockIcon>
</Dock>
</div>
)
}Just like that, you've added a genuinely sophisticated and interactive element to your app. This kind of rapid enhancement is a huge reason why Next.js has become so popular. With a 52.9% usage rate among rendering frameworks as of 2025 and over 132,000 stars on GitHub, its robust ecosystem is one of its greatest strengths. You can find more details on Next.js framework advantages on aalpha.net.
Taking Your Next.js App Live With Vercel
You've built a fantastic UI, and now it's time for the final, most exciting part: sharing your creation with the world. Deployment can sound like a huge headache, but Vercel—the platform from the same team that created Next.js—makes the whole process ridiculously simple. Honestly, it's the path of least resistance from your local machine to a live, production-ready URL.
The integration is just seamless. You just connect your GitHub, GitLab, or Bitbucket account, pick the project's repository, and Vercel pretty much takes it from there. It instantly recognizes you're deploying a Next.js app and automatically configures all the build settings for peak performance, right down to the global CDN distribution and serverless functions.

This kind of automation is a huge part of modern web development. If you're looking to really dial in your deployment workflow, especially on platforms like Vercel, diving into a comprehensive guide on CI/CD pipelines can give you some invaluable insights into continuous integration and delivery.
Connecting and Configuring Your Project
Your first deployment is usually just a few clicks. After you import your repository into a new Vercel project, the platform kicks off the first build automatically. From that moment on, every git push to your main branch triggers a fresh deployment. This keeps your live site perfectly in sync with your codebase without you having to lift a finger.
Of course, any real-world app needs to handle secrets like API keys. Vercel has a super straightforward UI for managing environment variables. Just head over to your project’s settings, find the "Environment Variables" section, and drop your keys in. They’re securely injected during the build process, so your sensitive data is never exposed in the client-side code.
A Quick Post-Deployment Checklist
Once your app is live, it’s always a good idea to run a quick sanity check. Here are a few things I always look over:
- Server Component Rendering: Make sure any pages that fetch data or run server-side logic are actually rendering as expected.
- API Route Functionality: If your app has API routes, hit those endpoints to confirm they're up and working correctly.
- Environment Variables: Double-check that your production-specific variables are being loaded and used properly by the application.
Deploying your app shouldn't be a complex, multi-day task. With Vercel, you can go from a local project to a globally-available application in just a few minutes, allowing you to focus more on building features and less on infrastructure.
This demand for streamlined development and deployment isn't just a trend; it's a massive market. The JavaScript frameworks market, where Next.js is a major player, is expected to reach $6.8 billion by 2025. This growth is all driven by the need for advanced, scalable web solutions. North America alone makes up 44.35% of this revenue, which really shows how much the region is focused on top-tier digital experiences. Mastering these modern frameworks and their ecosystems is more valuable than ever.
Hitting a Snag? Here’s How to Get Unstuck
Sooner or later, every developer runs into a roadblock. It’s just part of the game, especially when you’re juggling powerful tools like Next.js, TypeScript, and Tailwind CSS. The good news? Most of the issues you’ll face have been seen (and solved) before. This is your go-to guide for squashing those common bugs fast.
One of the first head-scratchers people run into is their Tailwind CSS classes just not showing up. Before you start ripping your hair out or rewriting components, take a deep breath and pop open your tailwind.config.ts file. Seriously, 9 times out of 10, the problem is a tiny typo or an incorrect file path in the content array. Tailwind needs to know where your component files are to scan them, and if that path is wrong, it won't generate the classes you need.
Taming TypeScript and Dodging Hydration Errors
TypeScript errors, especially from third-party libraries, are another classic hurdle. You might install a package only to find it doesn’t play nicely with your strict type setup. When this happens, the first thing to check is whether you need a separate @types/package-name package. If that doesn't exist, you might have to roll up your sleeves and create a custom type declaration file (.d.ts) to tell the compiler what to expect.
Then there's the infamous "hydration mismatch" error. It’s a cryptic message, but it usually means the HTML rendered on the server doesn't perfectly match what React is trying to build on the client.
The usual suspect for a hydration error is using browser-only APIs like
windoworlocalStoragein code that also runs on the server. The fix is to make sure that code only runs on the client-side. You can do this by wrapping it in auseEffecthook or using dynamic imports with SSR disabled.
Your Quick-Fix Cheat Sheet
Here are a few other common tripwires and the quick fixes that’ll get you back to building cool stuff.
- Slow Local Refresh: If your dev server is chugging along, you might be importing huge libraries where they aren't needed. Use Next.js's dynamic imports to code-split and load hefty components only when a user actually needs them.
- Environment Variables Not Loading: Don't forget the magic prefix! Any variables you need to access in the browser have to start with
NEXT_PUBLIC_. If you leave it off, Next.js keeps that variable on the server for security. - Magic UI Component Styling Issues: If a Magic UI component looks a bit funky, check your
globals.cssfile. It's possible you have some broad, global styles that are accidentally overriding Tailwind's more specific utility classes.
Getting familiar with these common pitfalls will save you a ton of debugging time down the road. You’ll spend less time troubleshooting and more time actually bringing your project to life.
Got Questions? We've Got Answers
As you dive into a new Next.js project, a few common questions always seem to pop up. Let's tackle some of the ones I hear most often from developers.
App Router vs. Pages Router: Which One Should I Pick?
For any new project you're spinning up, the App Router is the way to go. It's not even a debate at this point.
The App Router is where all the innovation in Next.js is happening. You get access to game-changing features like Server Components, nested layouts, and a much cleaner way to handle data fetching. The old Pages Router simply can't compete. Think of it as future-proofing your application from day one.
How Do I Manage Environment Variables?
Next.js makes handling environment variables pretty straightforward. Just create a .env.local file in the root of your project—this is where your secret keys will live.
If you need a variable to be accessible in the browser (like a public API key for a service like Supabase or Firebase), you have to prefix it with NEXT_PUBLIC_. Any variable without that prefix is locked down to the server-side, which is exactly what you want for things like database connection strings or private API keys.
A quick tip on components: By default, the App Router treats components as Server Components. They render on the server, keeping your client-side bundle size small and fast. If you need interactivity with hooks like
useStateoruseEffect, you just add the'use client'directive at the very top of the file to turn it into a Client Component.
Ready to build something amazing? Magic UI gives you a massive head start with a huge library of free, open-source animated components and premium templates. They're all built with React, TypeScript, and Tailwind CSS, so you can drop them right into your project. Stop building from scratch and start creating. Check out the collection at https://magicui.design.