
Getting Tailwind CSS up and running isn't a one-size-fits-all process. The right approach really depends on what you're trying to build. Are you just kicking the tires on a new idea, or are you laying the foundation for a full-scale production app? Answering that one question will point you in the right direction.
Choosing Your Tailwind CSS Installation Path
Think of it as a fork in the road. One path gets you started in seconds, perfect for quick experiments. The other is a more robust, professional route that unlocks Tailwind’s full power for serious projects.
Making the right choice early on can save you a ton of headaches later.
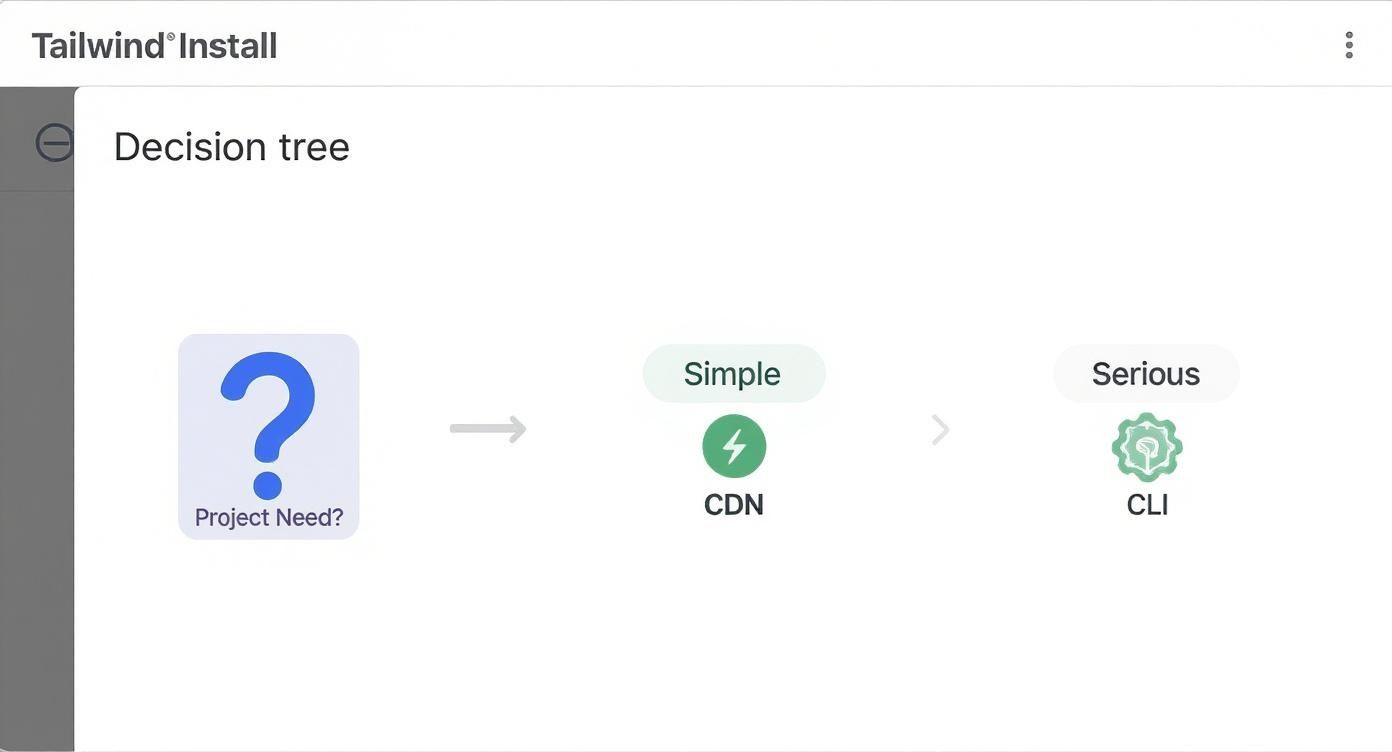
As you can see, the path you take directly impacts your project's performance, feature set, and overall capabilities. Let's break down which one is right for you.
To make this even clearer, here's a quick rundown of the main installation methods and when you'd want to use each one.
Comparing Tailwind CSS Installation Methods
| Method | Best For | Key Feature |
|---|---|---|
| Play CDN | Quick demos, learning, and prototyping | Instant setup via a single <script> tag. No build process needed. |
| PostCSS | Production applications, frameworks (React, Vue, etc.) | Full customization, plugin support, and optimized file sizes. |
Ultimately, while the CDN is great for a test drive, any real project will need the full PostCSS setup to be efficient and scalable.
The Quick Start: Using The CDN
If you want to start slinging utility classes right now, the Tailwind Play CDN is your best friend. Just drop a single <script> tag into your HTML file, and you’re off to the races. No build steps, no command line—just pure, instant Tailwind.
This is my go-to for whipping up a quick prototype or testing out a design idea directly in the browser. It’s friction-free.
But there are trade-offs. You can't customize the tailwind.config.js file, you can't install any third-party plugins, and you can't purge unused CSS. That last point is a big one, as it means your users will be downloading the entire, unoptimized library. If you want to see this method in action, we have a great guide on using the Tailwind CDN in your HTML.
The Professional Path: A Full Build Process
For any real, production-bound application, installing Tailwind CSS as a PostCSS plugin is the way to go. This method plugs Tailwind directly into your project's build pipeline, giving you access to all its best features.
This is where you get total control. You can fine-tune your
tailwind.config.jsfile, use the JIT compiler to generate styles on the fly, and—most importantly—purge all unused classes from your final CSS file. The result is a tiny, highly optimized stylesheet. It takes a few more minutes to set up, but the performance gains and customization options are non-negotiable for professional work.
Integrating Tailwind CSS into Your Build Process
If you're building a real-world application, the CDN is a great starting point, but you'll quickly outgrow it. To truly harness Tailwind's power—unlocking features like full customization and file-size optimization—you need to pull it into your project's build process.
This is where PostCSS comes into play. Think of it as a tool that transforms your CSS using JavaScript plugins. By adding Tailwind as a PostCSS plugin, you're telling it to scan your template files, generate only the classes you’re actually using, and apply any custom configurations you've defined. It’s the professional standard for a reason.
Kicking Off Your Project
First up, every Node.js project needs a package.json file to manage its dependencies. If you're starting completely fresh, pop open your terminal in the project's root folder and run this:
npm init -y
That little command quickly scaffolds a default package.json file. Now you’re ready to install the necessary packages.
You'll need to bring in Tailwind and a couple of its essential companions: postcss and autoprefixer. Autoprefixer is a must-have PostCSS plugin; it automatically adds vendor prefixes to your CSS rules, saving you the headache of ensuring cross-browser compatibility.
Run this command to install them all as development dependencies:
npm install -D tailwindcss postcss autoprefixer
Creating Your Configuration Files
With the packages installed, it's time to set up two crucial configuration files. The Tailwind CLI has a handy command to get you started with a tailwind.config.js file.
Just run this in your terminal:
npx tailwindcss init
This creates a barebones tailwind.config.js file. This file is the heart of your project's design system—it's where you'll eventually define custom colors, tweak your spacing scale, and extend your fonts.
Next, you need to tell PostCSS which plugins to use. Create a postcss.config.js file right in your project's root.
Inside that file, add this small snippet:
module.exports = {
plugins: {
tailwindcss: {},
autoprefixer: {},
},
}This is pretty straightforward. You're just telling PostCSS to run your CSS through both Tailwind and Autoprefixer during the build step.
Structuring Your Main CSS
Now you need a single CSS file to act as an entry point for Tailwind. It’s a common convention to create a file like src/input.css for this.
Inside this file, you'll use three special @tailwind directives. At build time, Tailwind will find these directives and swap them out with its generated styles.
@tailwind base; @tailwind components; @tailwind utilities;
These three lines are non-negotiable:
@tailwind base: Injects Tailwind’s foundational styles and resets.@tailwind components: Adds all of Tailwind's component classes (think containers, buttons, etc.).@tailwind utilities: This is the big one. It injects all the utility classes likeflex,pt-4, andtext-center.
This setup is rapidly becoming the industry standard. By 2025, Tailwind CSS has cemented its place as a go-to framework, with giants like Netflix and GitHub adopting it. Its utility-first approach helps teams build faster, and with the performance gains in version 4.0, it’s common for projects to ship less than 10KB of CSS. That’s a massive win for page load speeds. You can find more insights on Tailwind's impact over at Aynsoft.com.
With your config files and CSS entry point ready, the last piece of the puzzle is telling Tailwind which files to scan for class names. This is all handled in the
contentarray insidetailwind.config.js—a critical step for optimizing your production build.
Framework-Specific Installation Guides
One of the best things about Tailwind is how well it plays with just about any modern tech stack. While the core ideas behind installing it are always the same, the exact commands and config files will have little quirks depending on the framework you're using. Nailing these details upfront is the key to a frustration-free workflow.
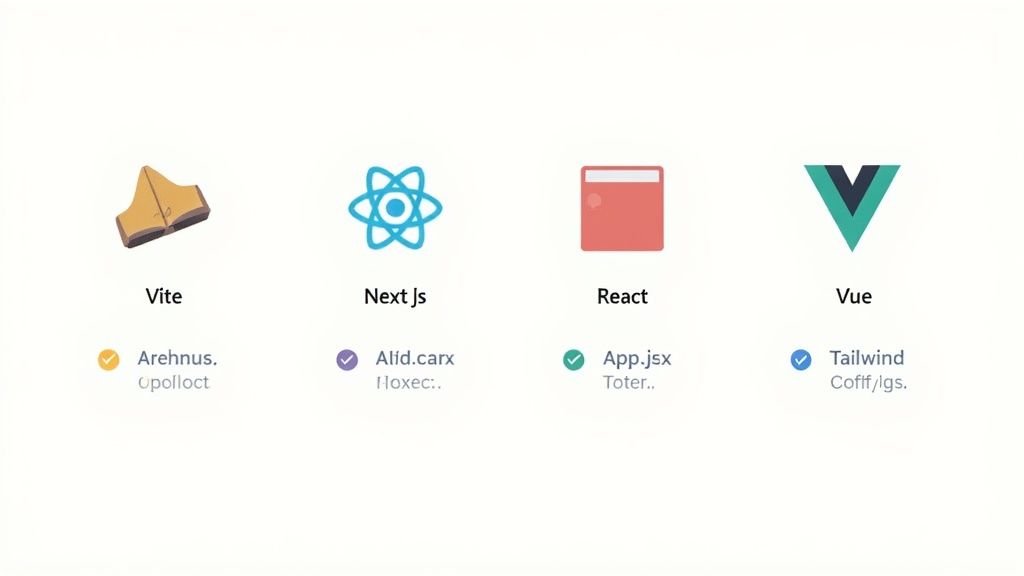
We'll walk through setting up Tailwind in the most common JavaScript environments right now: Vite, Next.js, and the old standby, Create React App. My goal is to get you up and running with the right setup for your specific project.

A huge piece of the puzzle is getting the content paths right in your tailwind.config.js file. This part is absolutely non-negotiable. It’s what tells Tailwind's JIT compiler where to hunt for class names, which is critical for keeping your final CSS build as lean as possible.
Installing Tailwind with Vite (React or Vue)
Vite is famous for its blazing-fast development server, and thankfully, getting it to work with Tailwind is just as quick. The process is practically identical whether you're building with React or Vue.
First, spin up a new Vite project if you don't have one. Then, you'll need to install Tailwind and its peer dependencies.
npm install -D tailwindcss postcss autoprefixer
npx tailwindcss init -p
That -p flag is a great little timesaver. It automatically creates both your tailwind.config.js and postcss.config.js files in one go.
Next, you have to tell Tailwind where your template files live. Pop open tailwind.config.js and update the content array to point to all your source files. This is how Tailwind knows where to scan for utility classes.
/** @type {import('tailwindcss').Config} \*/
export default {
content: [
"./index.html",
"./src/**/\*.{js,ts,jsx,tsx,vue}", // Don't forget .vue for Vue projects!
],
theme: {
extend: {},
},
plugins: [],
}Last step: create your main CSS file (I usually put it at src/index.css) and drop in the three main Tailwind directives. Import that CSS file into your main entry point—like main.jsx or main.js—and you're good to go. For a more detailed walkthrough, our guide on how to install Tailwind CSS in a React project covers this from top to bottom.
Setting Up Tailwind in a Next.js Project
Next.js has taken over the React world, and its support for Tailwind is top-notch. The official create-next-app tool even asks if you want to install it for you right out of the box.
When you're starting a fresh project, just run the usual command:
npx create-next-app@latest my-next-project When the prompts come up, just say "Yes" when it asks about using Tailwind CSS. It handles literally everything—installing dependencies, creating config files, and setting up the paths correctly.
If you need to add Tailwind to an existing Next.js app, the manual route is still super simple. The main difference is that you'll need to make sure your content path includes the app and pages directories, along with your components folder.
One of the most common hangups I see with Next.js is forgetting a folder in the
contentpath. If your styles aren't showing up, a misconfiguredcontentarray is almost always the reason.
Integrating with Create React App (CRA)
Even though a lot of the community has shifted to Vite, tons of projects are still built with Create React App. Unlike Next.js, CRA doesn't have a built-in Tailwind option, so you have to do it all by hand. It's still pretty painless, though.
After you've created your project with npx create-react-app my-app, run the standard installation commands for Tailwind we covered earlier.
The most important part for CRA is getting the content array in tailwind.config.js to match its file structure. It should look like this:
/** @type {import('tailwindcss').Config} \*/
module.exports = {
content: ["./src/**/*.{js,jsx,ts,tsx}"],
theme: {
extend: {},
},
plugins: [],
}This kind of seamless integration is exactly why Tailwind's popularity has exploded. By 2025, it has become the go-to choice over Bootstrap for countless developers who value its customization and performance. Because its build process only includes the classes you *actually* use, the result is a much smaller CSS file and a faster website—a massive win in today's performance-focused world.
Customizing Your Tailwind Design System
Okay, so you've got Tailwind CSS installed. That's the first step. But the real magic begins when you start tweaking the tailwind.config.js file. Think of this file as the command center for your project's design system. It’s where you take Tailwind from a generic utility framework and mold it into something that screams your brand.
This customization is what separates a site that looks like every other Tailwind site from one that's polished, unique, and professional. You can define everything from your specific brand color palette to custom fonts and spacing units, making sure every pixel aligns with your design vision.
Extending vs. Overwriting Your Theme
When you first open up tailwind.config.js, one of the most important concepts to get right is the difference between adding to Tailwind's defaults and completely replacing them. This all happens inside the theme object.
theme.extend: Use this when you want to add your own values without ditching Tailwind's defaults. For example, you can add abrand-blueto the color palette while still having access to all the built-inblue-500,red-600, etc.- Directly under
theme: If you define something directly inside thethemeobject (liketheme: { colors: { ... } }), you will completely overwrite whatever Tailwind provides by default. This is useful for super strict design systems where you only want your brand's colors available.
Honestly, for most projects, sticking with extend is the way to go. It offers the best of both worlds: your custom design tokens are there when you need them, but you still have Tailwind's massive default library as a fallback. If you want to see how a well-configured theme looks in a real project, check out these free Tailwind CSS templates.
My advice? Always start by extending the theme. I've seen developers completely overwrite keys only to run into weird issues later because a third-party plugin they installed was trying to use a default value they'd removed.
Adding Custom Colors and Fonts
Let's make this practical. Say your brand uses a specific shade of purple and the "Poppins" font. Here’s how you’d wire that up in your config file:
// tailwind.config.js
module.exports = {
theme: {
extend: {
colors: {
"brand-purple": "#5D3BEE",
"brand-dark": "#1a202c",
},
fontFamily: {
sans: ["Poppins", "sans-serif"],
},
},
},
plugins: [],
}Once you save that file and your build process refreshes, you can immediately start using classes like bg-brand-purple and font-sans in your HTML. It's that seamless.
This ease of integration is a huge reason why Tailwind's popularity has exploded. As of 2025, it sees over 20 million weekly downloads on NPM, dwarfing Bootstrap's 4.9 million. And with a developer retention rate in the high 70s, it’s clear that once people start customizing Tailwind, they rarely go back.
Leveraging Plugins and Variants
Your customization toolkit doesn't end with colors and fonts. Tailwind's ecosystem is rich with plugins and variants that open up even more possibilities.
- Plugins: These are fantastic for adding new sets of utilities. The official
@tailwindcss/typographyplugin, for instance, gives you beautifully styled blog posts or articles with a singleproseclass. No more manually styling everyp,h2, andultag. - Variants: These let you control when a utility applies. Think
hover:,focus:, or even for dark mode (dark:). You can enable dark mode detection by simply settingdarkMode: 'class'in your config.
By combining a custom theme, a few key plugins, and smart use of variants, you can build an incredibly sophisticated and easy-to-maintain design system that is 100% your own.
Optimizing and Troubleshooting Your Setup
Getting your dev server fired up after a fresh Tailwind install is a great first step, but the job isn't quite finished. When it's time to ship to production, you need to make sure your site is lean, fast, and efficient for every single visitor. This final step is all about transforming that potentially massive development stylesheet into a tiny file that’s ready for the real world.
This is where Tailwind's Just-In-Time (JIT) compiler becomes your best friend. It’s a brilliant piece of engineering that scans all your project files—HTML, JavaScript, JSX, you name it—and finds every single utility class you've actually used. From there, it generates a CSS file containing only those classes, effectively purging anything and everything you didn't use. This process can shrink your CSS from several megabytes down to just a few kilobytes.

This whole optimization process hinges on getting one critical piece of your configuration perfect: the content array in your tailwind.config.js file.
Perfecting Your Content Paths
Nailing down your content paths is absolutely non-negotiable for a successful production build. If a path is missing, Tailwind simply won't scan those files, and any classes inside them will be completely purged from your final CSS. The result? A perfectly good-looking site in development that appears broken and unstyled in production.
A classic mistake is forgetting to include a specific folder or file extension. For instance, if you’ve neatly organized your UI components into a src/components directory, you have to tell Tailwind to look there.
// tailwind.config.js
module.exports = {
content: [
"./src/pages/**/*.{js,ts,jsx,tsx}",
"./src/components/**/*.{js,ts,jsx,tsx}",
// Add any other directories that contain Tailwind classes
],
theme: {
extend: {},
},
plugins: [],
}This setup instructs Tailwind to scan for any JavaScript or TypeScript files inside both the pages and components folders. My advice? Always double-check these paths before you deploy.
Solving Common Build Issues
Even with a flawless setup, you can still hit a few snags. If your styles suddenly vanish or just aren't updating as you code, it’s usually one of a few common culprits.
Here’s a quick mental checklist I run through when things go wrong:
- Is the build process actually running? The JIT compiler needs to be active and watching for your file changes. Make sure your
npm run dev(or whatever script you use) is still chugging along in your terminal. - Are your
@tailwinddirectives in place? Your main CSS entry file absolutely must have@tailwind base;,@tailwind components;, and@tailwind utilities;. Without them, Tailwind has nowhere to inject its styles. - Is another library causing a conflict? Sometimes, a different UI library or an old-school global stylesheet can override Tailwind’s classes. Pop open your browser's dev tools, inspect the element in question, and see if there are conflicting CSS rules at play.
Honestly, the most frequent issue I run into is a simple typo in a class name. Since Tailwind generates nothing for incorrect classes, typing
bg-blacinstead ofbg-blackwill fail silently. You’ll be left scratching your head, wondering why your styles aren't applying. Always, always check for typos first—it can save you an hour of debugging.
Common Questions About Installing Tailwind CSS
Even with a step-by-step guide, you're bound to run into a few tricky spots. It happens to everyone. Let's walk through some of the questions I see pop up all the time so you can get past any roadblocks and back to building.
Can I Use Tailwind CSS Without a Build Step?
You absolutely can, especially if you're just kicking the tires or spinning up a quick prototype. The Tailwind Play CDN is fantastic for this. All you need is a single <script> tag in your HTML, and you can start slinging utility classes right away—no setup required.
But—and this is a big but—for any real project that's going live, a build process is non-negotiable. That's the magic that enables critical optimizations like purging unused CSS, which drastically cuts down your final file size. It's also how you unlock the full power of tailwind.config.js to truly make the framework your own.
Why Are My Custom Styles Not Working?
If you find your styles aren't showing up, I'd bet it's a configuration issue. Nine times out of ten, the problem lies within the content array in your tailwind.config.js file.
The most common mistake is providing an incorrect file path. If the path is wrong, Tailwind's JIT compiler isn't scanning the files where you're actually using the classes. When that happens, it assumes those classes aren't needed and purges them from the final build.
To get things working again, you'll need to make sure your paths are pointing to every single template file where you might add a class.
- Check your file extensions: Did you include everything you're using? Think
.{js,jsx,ts,tsx,vue}. - Verify the folder paths: Double-check that all directories containing your pages, components, and layouts are listed correctly.
- Confirm your build process is running: Make sure your dev server is active and actually watching for file changes. A quick restart often helps.
How Do I Add a Custom Font Family?
Getting a custom font into your project is a straightforward two-part process. You just need to link the font in your CSS and then tell Tailwind about it.
First things first, you need to import the font into your main CSS file. Using @import for a service like Google Fonts is a super common and easy way to do this.
@import url('https://fonts.googleapis.com/css2?family=Inter:wght@400;700&display=swap');
With the font imported, pop open your tailwind.config.js and extend the theme.fontFamily object. This step registers your new font with Tailwind and gives it a name you can reference with a utility class.
// tailwind.config.js
module.exports = {
theme: {
extend: {
fontFamily: {
sans: ["Inter", "sans-serif"],
},
},
},
}And that's it! Now you can apply your beautiful new font anywhere in your project just by using the font-sans class.
Ready to build beautiful, responsive landing pages in minutes? With Magic UI, you get access to over 150 free, open-source animated components and premium templates built with Tailwind CSS. Explore Magic UI today and see what you can create.